SitFEL
SitFEL
SitFEL
Search
SitFEL
What Are You Looking For?
Search
Учеба
Курсы
Услуги
Переезд в Чехию
Курсы
Курсы
by
kross
09.02.2026
Отправка защищенных сообщений (KSB вторая семестралка) — часть 3
Курсы
by
kross
09.02.2026
Взлом шифров (KSB семестралка) — часть 2
Курсы
by
kross
09.02.2026
Decoding ciphers (KSB semester work) — part 1
Курсы
by
kross
07.02.2026
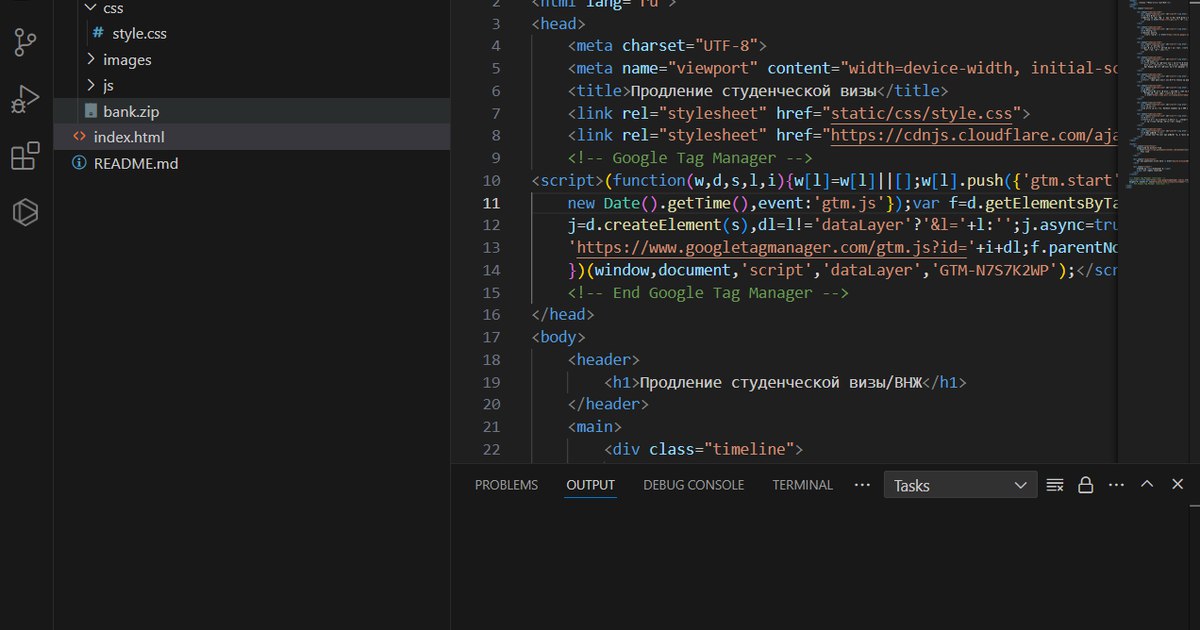
Настройка инструментов для веб-разработки
Курсы
by
kross
07.02.2026
KAJ — как проходил экзамен
Курсы
by
kross
28.01.2026
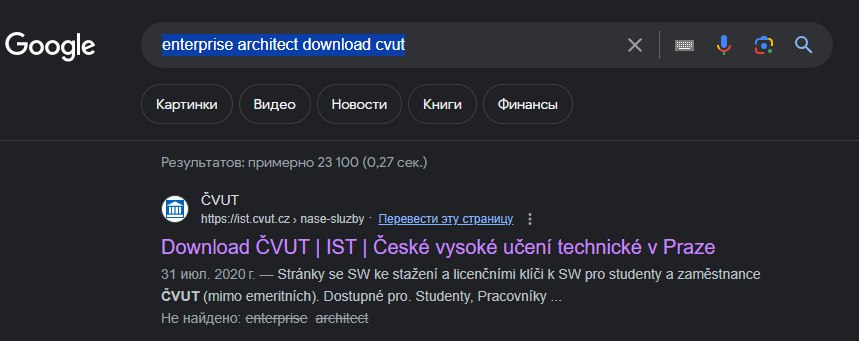
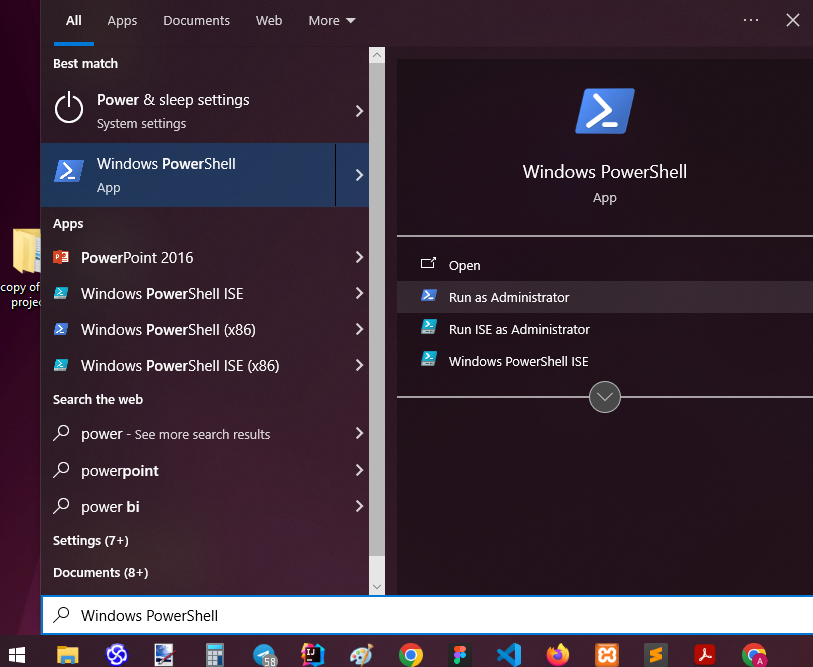
How to install Enterprise Architect
Курсы
by
kross
26.01.2026
Обязательный экзамен по английскому языку B2 на FEL
Курсы
by
kross
01.01.2026
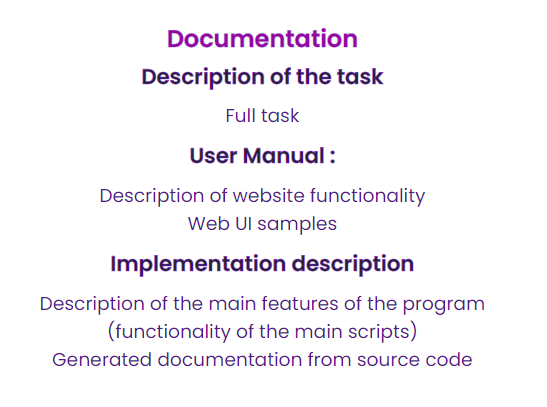
Dokumentace ZWA
Курсы
by
kross
11.06.2025
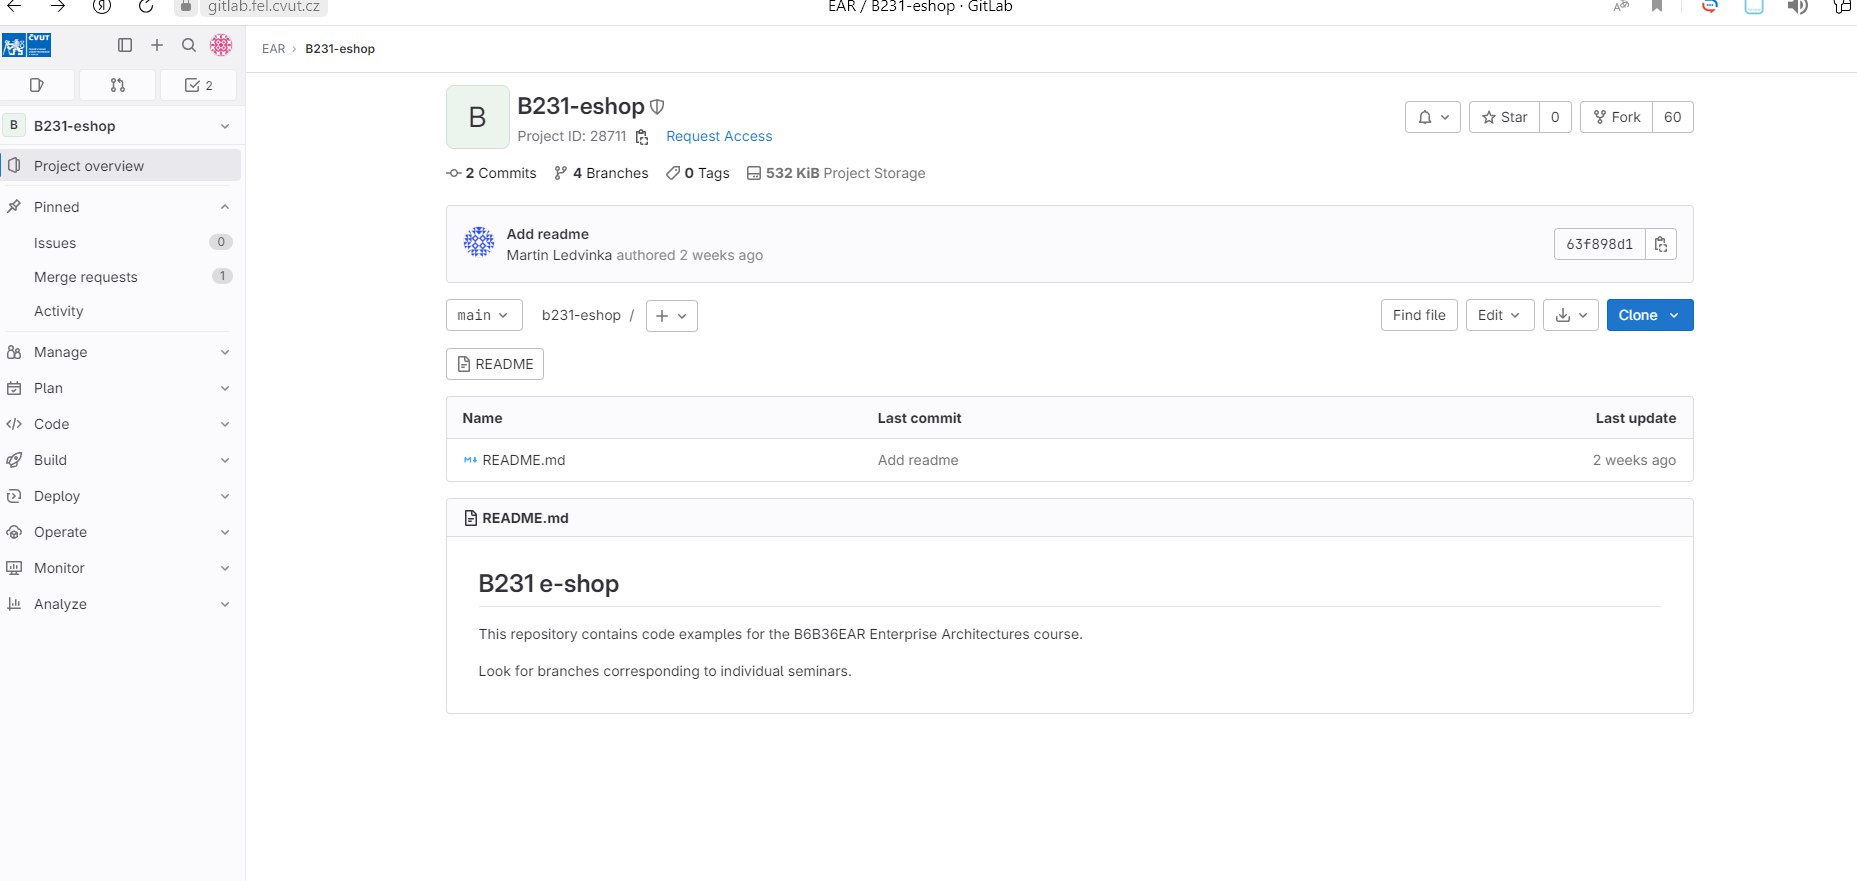
EAR — как сделать FORK
Курсы
by
kross
30.04.2025
Creating an SSH key